Saturday, 15 November 2014

Proposal

Proposal Project - MUS303 Interactive Sound Environments

Areas to be explored


This work will be exploring the ideas of data visualization, in particular with MIDI note information. The MIDI information is going to be received from an electric keyboard/piano. This may explore ideas around Toshio Iwai, with his “Piano - As Media Image” (Young, 2010). It will also look at performance based visualisation the same as Alva Noto and Ryuichi Sakamoto (Robin Chan, 2012).

Description of Project

For this project, I am proposing that I build an LED board that can be controlled with a Piano Keyboard. The basic principle will be that if I press a note on a keyboard, a specific corresponding LED will light up. It will also be possible to play multiple notes at once, which will light up simultaneous LED lights. As well as this, the lights will stay on for the length of sustain, this will include if a sustain pedal is used. It is unlikely that velocity will be taken into account at this point, but this may also be considered if the project leads that way.
What will this achieve?

When going to see live bands with keyboardists, they are often hidden behind keyboards, with little ability to express their skills with a visual indicator. This differs, for example, from a guitar player. A guitar player has his/her instrument facing the audience, and he/she can move about that stage freely to express the skills he/she possess. That being said, there is an instrument which can be used by keyboardists to reflect this very problem. A keytar. However, I found when watching live keytar players, that they are limited again to what they can do. Keytars are best played with one hand, which limits the skill of the player.

What the LED board will achieve, is a visual indicator of the skill and expression of the keyboardist. Not only that, audiences enjoy visual lighting during performances, and having lighting that is in time with the keyboardist can only increase the enjoyment of the show. Much the same way Alva Noto and Ryuichi Sakamoto do during their live performances.

So the aims of this project are:

  • To create a way that LED’s can be lit by playing a keyboard
  • The length of the LED should be controlled by length of note being played and/or through a sustain pedal
  • The LED’s should be presented in a way that would be visually pleasing to an audience.

Breakdown of how to fulfill this task

  1. The first task will be to get an LED to light up when triggered with a keyboard. This will be achieved with an Arduino and possibly MAX. This will break the boundary between getting a MIDI signal to activate the hardware and be the first major achievement.
  2. Second task will be to get a set of LED’s to light up to a corresponding note. This will be achieved by starting small, maybe one octave. Then move on to the full length of a keyboard, most likely 49 keys. This will require working out how to differentiate the MIDI signal to a corresponding LED.
  3. The next task will require getting multiple LED’s to light up when multiple notes are being played. The LED’s that light should be the correct corresponding LED. This will allow chords and full sequences to be played and light up the corresponding LED.
  4. The last task will be further improvements. Ideally, the length of the LED’s should be able to be controlled with a sustain pedal as well. Further improvements will also include presenting the LED’s in an appropriate way for an audience. This may be with multiple coloured LED’s and laying out the LED board in a way that it attaches to the back of a keyboard, on a stage, microphone stand, or possibly person. Having a way to hide any external components (Arduino, cables) will also be considered.

Issues that I may come across

The most probable Issue that I will have to overcome will be working with hardware. Getting a single LED to light up when a MIDI note is being played is a fairly straightforward task. However, getting the Arduino and/or MAX to understand multiple notes being played simultaneously and the sustain and the note off signals will be more difficult. I believe this will be my biggest challenge.

I may also find that getting the LED’s to sustain with a pedal will also be challenge. This is because the Arduino will have to deal with even more signals being sent to control the LED’s. Finding a way for the Arduino to understand and process all this information with little delay will probably be a massive issue.

Bibliography

Robin Chan. (2012) Alva Noto Ryuichi Sakamoto Live in 2012. [Online] Available from: https://www.youtube.com/watch?v=8ggEYoVKX_M [accessed 13 November 2014]

tcone. (2013) LED Piano Learning Strip. [Online] Available from: http://www.instructables.com/id/LED-Piano-Learning-Strip/ [accessed 13 November 2014]

Young, D. (2010) TOSHIO IWAI. [Online] Available from: http://www.inventinginteractive.com/2010/02/05/toshio-iwai/ [accessed 13 November 2014]

Change in Idea

I have decided to not focus on Binaural Microphones now. This is because I could not think of a good enough project to reflect the capabilities of Binaural Microphones well enough. I have now decided to focus on Data Visualization. Data Visualization is quite literally a visual representation of data. This can be any form of data visualization, from a map to a graph. In my case, I am going to focus data visualization for entertainment and music purposes. 
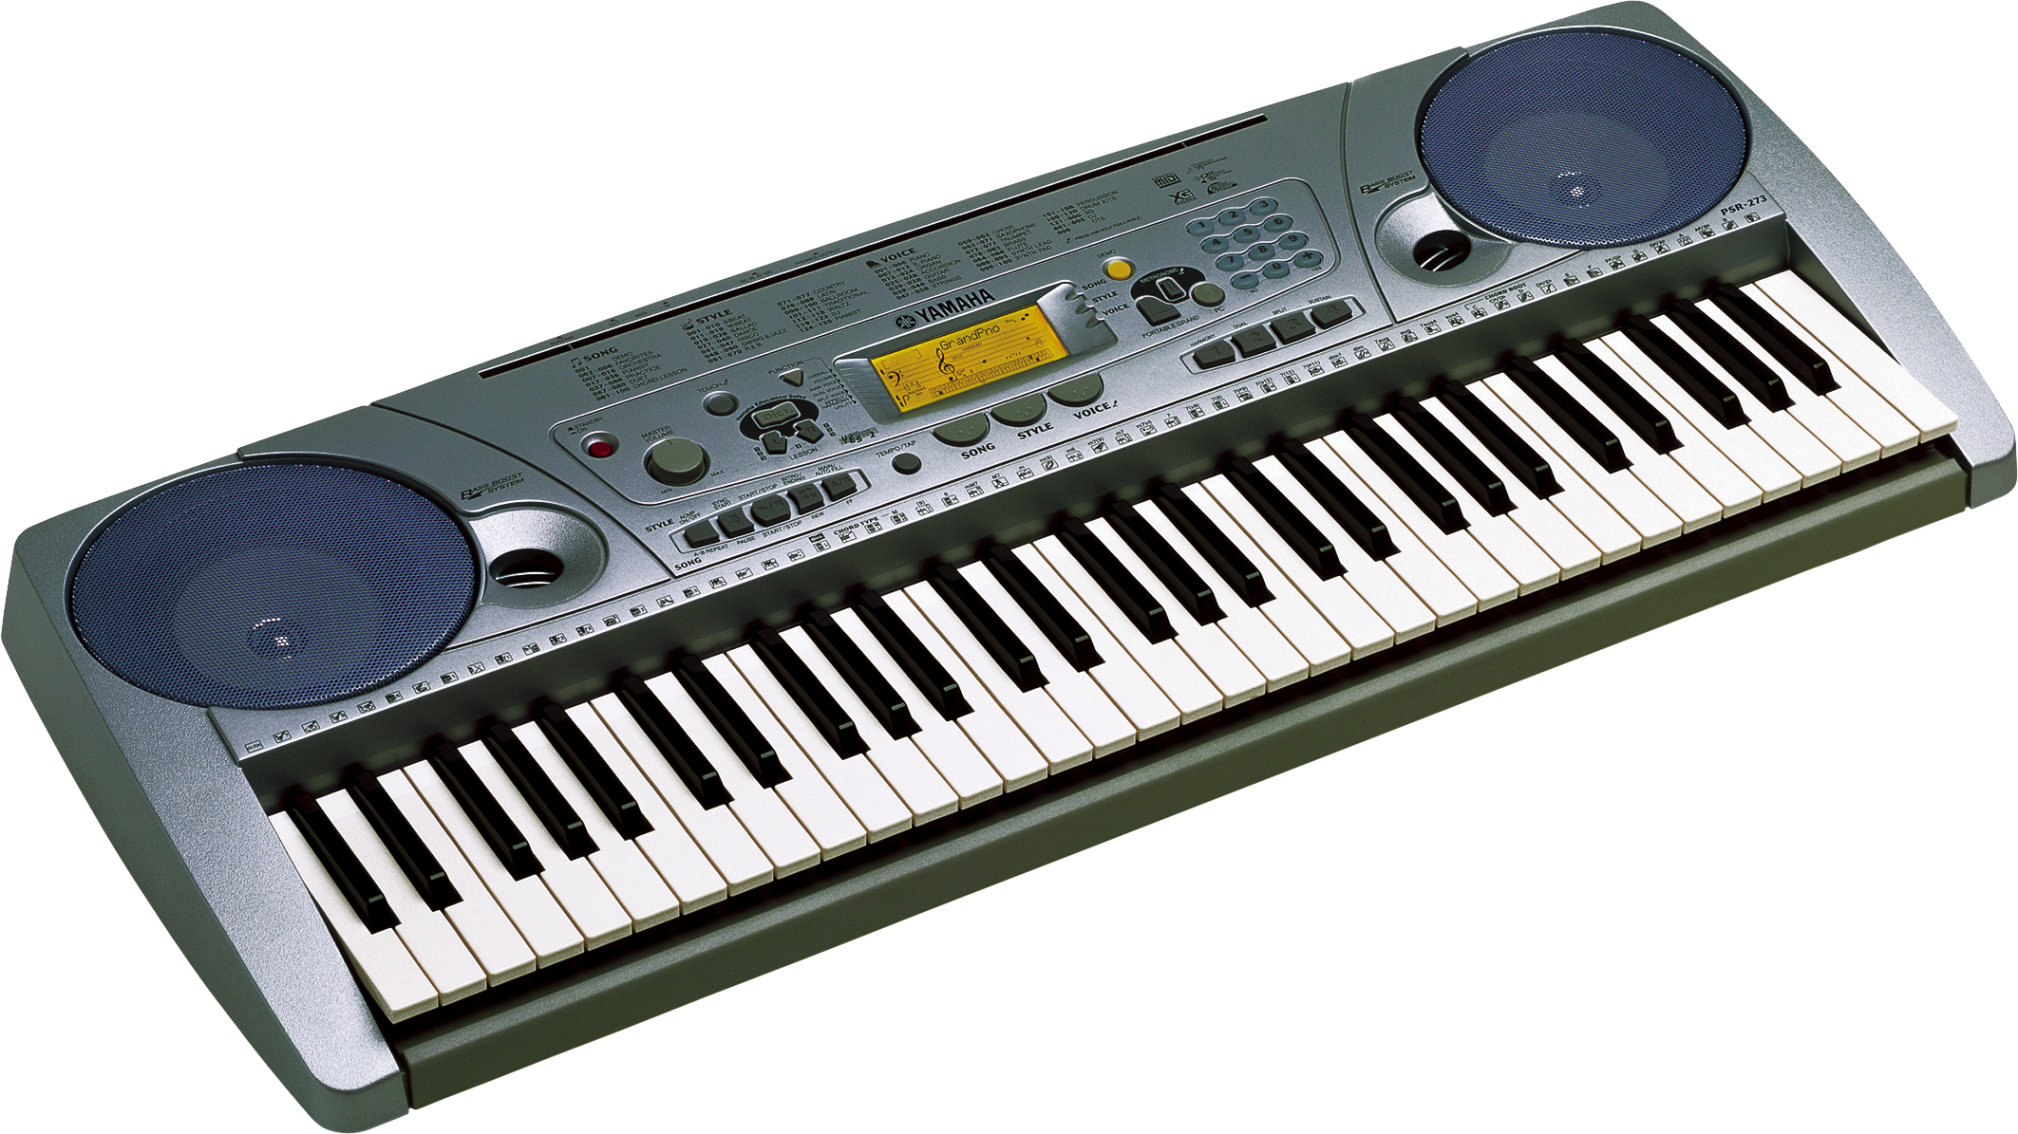
Yamaha PSR 273

My idea is to focus on using LEDs as a Data Visualization with a MIDI keyboard. I got this idea from the Yamaha PSR273 Keyboard that already has a similar feature. I actually used this keyboard to make a music video for Media Studies A2. The visual representation of lights, that was triggered when a note was played, was brilliant. See video below to understand what I am discussing.


This feature is great for visualization, and was even better for when learning a song. However, this type of visualizations only useful for the user of the keyboard. Their isn't one for a live music situation where the audience can see the visual. Not only that, it only registers the on/off signal, it doesn't take into account if a sustain pedal is being used.

Monday, 20 October 2014

Project Mindmap

As I am currently mind mapping ideas the link below goes to a mind-map website where you can view the mind-map that is still ongoing and in progress.

Link: http://goo.gl/KAHolh

Learning and Developing Max/MSP with Step Sequencer Project

In this module we are also learning to use Max/MSP. This is so we can use it to help with out projects. So far we have only covered the basics, but from learning Max/MSP, it has taken me two lectures to realise just how open Max can be. You can create so much. You are only limited by what you can think. To help develop my knowledge with Max, I set out on a task that I knew couldn't be too difficult, but was complicated enough to be a challenge. I decided to build a 16 step sequencer, as I figured out that it could be built using the majority of objects we had all ready learnt. 


Above is a screenshot of the finished step sequencer in patching mode. The purpose of the step sequencer is a sequencer that could be used with Kong Drum Designer in Reason 7.

The first task was to have a tempo that could be changed. This had not yet been covered in lectures, so through research and using the "help" in Max, I was able to learn how tempo was used.


The tempo has a default of 120 beats per minute with a beat multiplier of 1. The last part, beat divisions of a whole note, was confusing. However, eventually I figured the division could be used to divide the whole bar into 16 parts, which was helpful for the 16 step sequencer.


The next section used parts we had already learnt, such as: button, counter and % object. This allowed max to count up 16 bangs to a tempo and then loop back to 1, thus creating the 16 steps.


The select objects were used for two purposes. The first is the 0-15, which routed the bangs to 16 corresponding buttons steps. (see image below). This created not only a visual indicator, but also created the 16 bangs needed for the next section. The 0, 4, 8, 12 select object was used to create a click tempo but only clicking on the 4 beats of the bar. It works by being connected to a click object which is connected to an ezdac~ object. It's also routed though 4 buttons (shown below) for a visual indicator.   


After going through the buttons, the bangs are routed through ggate objects. Ggates had not been covered yet, however, their purpose was obvious from their visual interface and name. The ggates act as a switch to allow data through when opened by a trigger. After connecting all the bangs up to the ggates, each ggate was then connected to their own corresponding trigger. The triggers would become the interface the step sequencer would be controlled with.


Once the ggates have been triggered, the bang will be routed to a number message. There are 16 number messages ranging from 36 to 51. Each number message represents a MIDI note, 36 being C up to 51 being Eb. These MIDI notes were chosen as these are the MIDI notes used to control the Kong Drum Designer.

Finally the messages are routed to a makenote object and then to a noteout object. This sends the sequence out of Max to Reason.


Other features of the sequencer include: tempo control, on/off trigger (which can be triggered with the space bar), default button (which resets the tempo back to 120) and a reset button (which resets the whole sequencer.


When the sequencer is put in presentation mode, it is laid out in a very simple manner that is easy to use and simple in looks. 

This project took a total of 7 hours to complete, including research. Overall I am pleased with how the sequencer turned out. I'm most proud of how I didn't compare to other peoples sequencers as I knew this would make me aim to match other people's sequencers rather than create my own. It also meant that all thought processes were my own so the learning curve was much greater as it allowed me to learn from my own tests and failures rather than follow a tutorial.

A link to copy Max Patch Code:

Further development of the sequencer I would like to do:
  • Make it more visually pleasing by including a background, customizing switches etc.
  • Add more features such being able to change sounds within the sequencer, eq, compression etc.
  • Possibly the ability to add or remove sequences within the sequencer itself without changing the patching itself. So the user could have a customized 4x16 Step Sequencer or a 20x16 Step Sequencer. 
It is possible this could develop to be a final project but the primary purpose was not to be a final project, more of a practice.

Objects used in this project:

  • Key
  • Number
  • Select
  • Tempo
  • Button
  • Counter
  • %
  • Select
  • Ggate
  • Trigger
  • Message
  • Makenote
  • Noteout
  • Slider
  • Click~
  • Ezdac~
  • Comment


Introduction

This module requires me to create a prototype project, which will eventually lead to a final project, that reflects an idea based around something interactive in relation to sound. The first lecture discussed sound in a form of "sound space". This interests me in the idea that sound and music can be more than just a structural "song, composition, or film/T.V/game". It is still very broad however in what it is I can do. The second lecture covered a more specific idea of mobile creations or creations created using mobile technology. That included personal recorders and mobile apps. This interested me more as it also covered Binaural Microphones which I have an interest in.

I first came across Binaural Microphones when listening to a piece of audio that gave you the impression you were getting your hair cut called 'Virtual Barber Shop' (see link below). When remembering this I had a few ideas on how to create an interactive space that could simulate a similar experience like that. As this is my main idea I want to explore at the moment, my first task is to research further into Janet Cardiff, who explores the idea of using Binaural Microphones and interactive guides.

Link to Virtual Barber Shop: https://www.youtube.com/watch?v=IUDTlvagjJA